-
About
- About Listly
- Community & Support
- Howto
- Chrome Extension
- Bookmarklet
- WordPress Plugin
- Listly Premium
- Privacy
- Terms
- DMCA Copyright
- © 2010-2025 Boomy Labs


Listly by iainhendry71
A collection of arduino related resource such as tutorials, code snippets, articles and so on
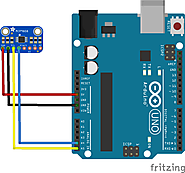
Arduino and MCP9808 digital temperature sensor example
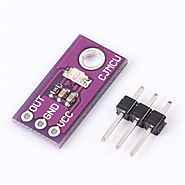
Arduino and LX1972 light sensor example

In this part we will now try and program an Attiny85 microcontroller using an Arduino, the process is similar to our Attiny2313 example. Basically slightly different connections and change the chip being programmed in the IDE.
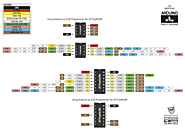
The first step is to take a look at the pinouts and features available if you decide to use an Attiny44, the diagram below displays this just nicely, as you can see there is less I/O but you still get PWM, I2C and analogue in capabilities. For smaller projects this may be just what you need. The experimenter in me still likes to build my own micro boards with various electronic components attached
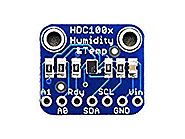
In this example we will show the temperature and humidity readings from a HDC100x series sensor and display this on a 16×2 LCD.
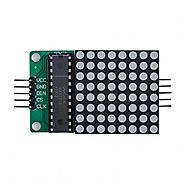
This was another example of driving an 8×8 LED matrix , this time we decided to use Johnny-five (http://johnny-five.io/) , we were having a play about with Javascript.
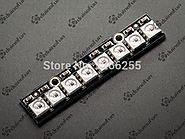
WS2812 family is a intelligent control LED light source that the control circuit and RGB chip are integrated in a package of 5050 components. It internal include intelligent digital port data latch and signal reshaping amplification drive circuit. effectively ensuring the pixel point light color height consistent.
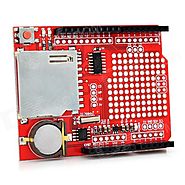
This is a simple data logging shield which will enable you to add SDCard storage support and RTC capability to your Arduino project. Here is a picture of the shield.
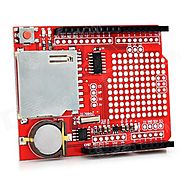
In this example we will connect a HDC1000 sensor to a data logging shield and log out the temperature and humidity to a csv file on an SD card
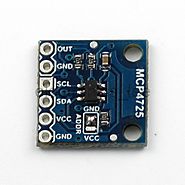
MCP4725 is a single channel, 12-bit, voltage output Digital-to-Analog Converter with integrated EEPROM and an I2C Compatible Serial Interface.
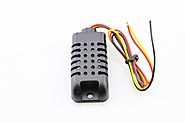
Since this is basically a packaged up DHT21, you use DHT libraries and here is a code example that will display the temperature and humidity readings on an LCD display.
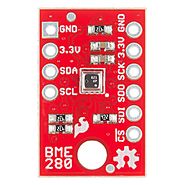
The BME280 is a humidity sensor features an extremely fast response time which supports performance requirements for emerging applications such as context awareness, and high accuracy over a wide temperature range. The pressure sensor is an absolute barometric pressure sensor with features exceptionally high accuracy and resolution at very low noise. The integrated temperature sensor has been optimized for very low noise and high resolution. It is primarily used for temperature compensation of the pressure and humidity sensors, and can also be used for estimating ambient temperature.
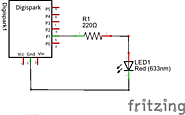
In this example I decided to take a look at one of the Digispark clone boards that are available. These boards are based around the ATtiny85 which have the micronucleus bootloader installed, this means you can then use the Arduino IDE as usual
The for statement is used to repeat a block of statements enclosed in curly braces. An increment counter is usually used to increment and terminate the loop. The for statement is useful for any repetitive operation, and is often used in combination with arrays to operate on collections of data/pins.
There are three parts to the for loop:
while loops will loop continuously, and infinitely, until the expression inside the parenthesis, () becomes false. Something must change the tested variable, or the while loop will never exit. This could be in your code, such as an incremented variable, or an external condition, such as testing a sensor.
The while loop has a structure as follows:
The do loop works in the same manner as the while loop, with one difference in that the condition is tested at the end of the loop, so the do loop will always run at least once even if the test expression was false.